
Convert thick provisioned to thin provisioned using vmkfstools in ESXi Shell (command line)
Convert thick provisioned to thin with vmkfstools in ESXi Shell (command line)
In this step by step guide, you will learn how to convert a thick provisioned lazy zeroed disk to thin on VMware ESXi 6.7. The steps are the same for other ESXi versions. You will use the vmkfstools command.
The vmkfstools command offers the ability to clone virtual machine content and also convert from one virtual machine disk (.vmdk) format into another.
1. Check VM used space

The used space column shows the VM as 94.08 GB used space.
2. Confirm disk type by editing VM settings.


Step 2. Enable SSH on VMware ESXi host

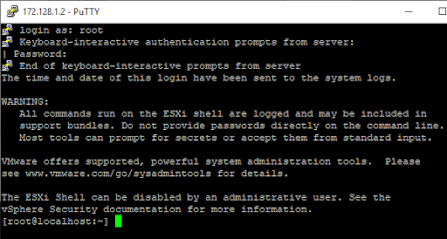
Step 3. Connect ESXi using SSH
SSH into the host with the application Putty.( windows). if you are using linux or Mac OS use built in SSH command from terminal.


Step 4. Navigate to the VM folder
Navigate to the VM folder under /vmfs/volumes/ with the command cd /vmfs/volumes/<datastore name>/<VM name>.
Use ls-lh command to list folder contents.

Step 5. Convert VMDK to a thin provisioned disk using vmkfstools clone option.


Step 6. Attach new Thin VMDK using GUI.


Note: Ignore the Hard disk type displayed in the screen. By default it will show Thick provisioned. This will change to Thin once you apply settings.
Step 7. Remove old ( Thick ) VMDK


Step 8.Power ON VM
Step 9. Verify hard disk type conversion
Check the VM hard disk size. In this example, the hard disk changed from 94.08 GB to 9.95 GB. Also disk Type has changed to Thin Provisioned.


Post a Comment